
Can I Install Seamless Gutters Myself? What Hampton, VA Homeowners Need to Know
- By Gutter Masters Pro
- Local Hampton Roads Experts
- 8 min read
- June 2026
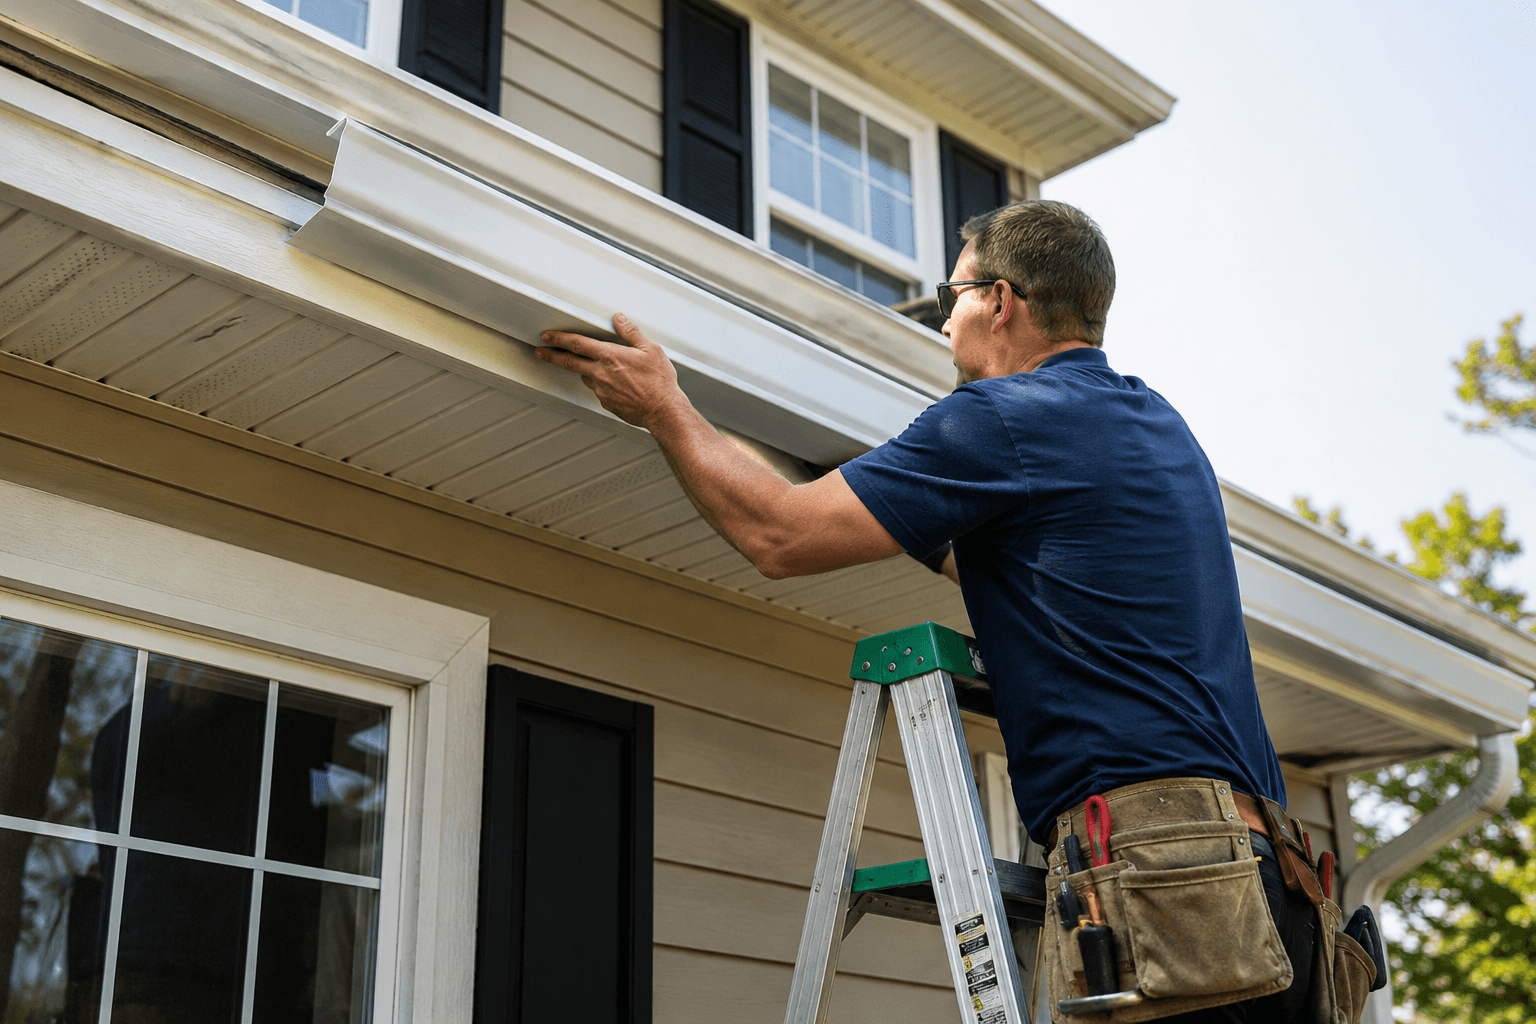
We get this question a lot — usually from homeowners who’ve just gotten a quote and are wondering if they could save money by doing it themselves. It’s a fair question. We’re not here to scare you out of a weekend project. We’re here to give you the real picture: what “seamless” actually means, what tools and skills it requires, where most DIY attempts go wrong, and when it genuinely makes sense to call a professional instead.
We also get called in fairly often to fix DIY gutter jobs that didn’t go as planned — so a lot of what’s below comes directly from what we see in the field, not just theory.
What "Seamless" Actually Means — and Why It Matters for DIY
This is the part most homeowners don’t realize until they start researching: “seamless gutters” aren’t a product you buy off a shelf. They’re a process. A seamless gutter is formed from a continuous coil of aluminum that gets fed through a portable roll-forming machine — right at your house, cut to the exact length of your roofline. There are no joints or seams along the straight runs, only at corners and end caps.
That machine, plus the brake (for bending end caps and corners) and the crimper (for shaping connection points), is specialized equipment. It’s not something you rent at a typical hardware store, and it’s not cheap to buy for a one-time project. This is the single biggest reason true seamless gutters are rarely a DIY job — it’s not the installation itself that’s the barrier, it’s the fabrication.

What’s actually available to DIYers at home improvement stores is sectional gutter — pre-formed 10-foot aluminum sections that connect with slip joints and sealant. It’s a real, valid option. It’s just not the same product, and it doesn’t perform quite the same way over time. We’ll compare both below.
Sectional (DIY) vs. Seamless (Professional): What's the Real Difference?
Here’s how the two options actually compare, side by side:
| Factor | Sectional Gutters (DIY) | Seamless Gutters (Professional) |
|---|---|---|
| Where it comes from | Pre-cut 10-ft sections from a hardware store | Custom-formed on-site to your exact roofline |
| Seams / joints | A joint every 10 feet, sealed with caulk or connectors | No mid-run seams — only at corners and end caps |
| Leak risk over time | Higher — every joint is a potential failure point | Lower — far fewer points where water can escape |
| Tools required | Ladder, drill, snips, level, caulk gun, hand tools | Roll-former, brake, crimper, plus standard tools |
| Upfront cost | Lower material cost, no labor cost | Higher — includes fabrication, labor, and equipment |
| Long-term cost | More frequent repairs/resealing over the years | Lower maintenance, often 20+ year lifespan |
| Skill / time needed | Moderate — doable in a weekend for a simple roofline | Requires trained crew and specialized equipment |
Neither option is universally “right” — it depends on your roofline complexity, budget, timeline, and comfort level with ladder work. A simple, single-story home with a straightforward roofline is a very different project than a two-story home with multiple rooflines, valleys, and tight corners.
Not sure which option fits your home?
We’ll take a look at your roofline and give you an honest read on what makes sense — DIY-friendly or not.
What DIY Sectional Gutter Installation Actually Involves
If you’re leaning toward the DIY sectional route, here’s a realistic breakdown of what the project actually requires — not the simplified version you’ll find on a hardware store display.
Tools You'll Need
The General Steps
- Measure your roofline and calculate the slope you need (typically a ¼ inch drop per 10 feet toward the downspout).
- Mark a chalk line along the fascia board showing the correct pitch — this is the step most DIYers rush or skip, and it’s the source of most overflow problems later.
- Install end caps and corners first using the gutter brake or pre-formed corner pieces, sealing all joints with gutter-grade sealant.
- Hang the gutter sections along your chalk line, connecting each 10-ft section with slip-joint connectors and sealant.
- Install hangers at consistent intervals — no more than 24 inches apart in high-rainfall areas like Hampton Roads.
- Cut and attach downspout outlets, then assemble and secure the downspouts with straps, directing water away from the foundation.
- Test with a hose before considering the job done — run water through the full system and watch for pooling, slow drainage, or leaks at every joint.
Common DIY Gutter Installation Mistakes We Get Called to Fix
We get called in fairly often to repair DIY gutter installs that ran into trouble. Here’s what we see most:
Which Gutter Should You Choose for Your Home?
Whether you DIY or hire a pro, the right gutter choice depends on a few factors specific to your home:
Gutter Size: 5-Inch vs. 6-Inch
Most homes default to 5-inch gutters because that’s the standard hardware store size. But homes with steep rooflines, large roof surface area, or multiple roof levels draining into one gutter run often need 6-inch gutters, which handle about 40% more water volume — a meaningful difference during Hampton Roads’ heavier storms.
Material: Aluminum vs. Steel vs. Copper
- Aluminum — the most common choice. Doesn’t rust, lightweight, affordable, holds up well in Virginia’s humidity. Available in sectional (DIY) and seamless (pro) form.
- Galvanized steel — stronger, but heavier and prone to rust over time, especially in coastal humidity. Less common for residential DIY projects.
- Copper — premium option, develops a natural patina, very long lifespan, but significantly more expensive and typically installed by specialists, not DIYers.
Sectional vs. Seamless: A Quick Gut-Check
- If your roofline is simple (one story, few corners, no valleys) and you’re comfortable on a ladder, sectional DIY gutters are a realistic weekend project. If your home has a complex roofline, multiple stories, or you’ve had recurring gutter problems in the past, seamless installation by a professional crew will save you more in avoided repairs than it costs upfront.
When DIY Makes Sense — and When It Doesn't
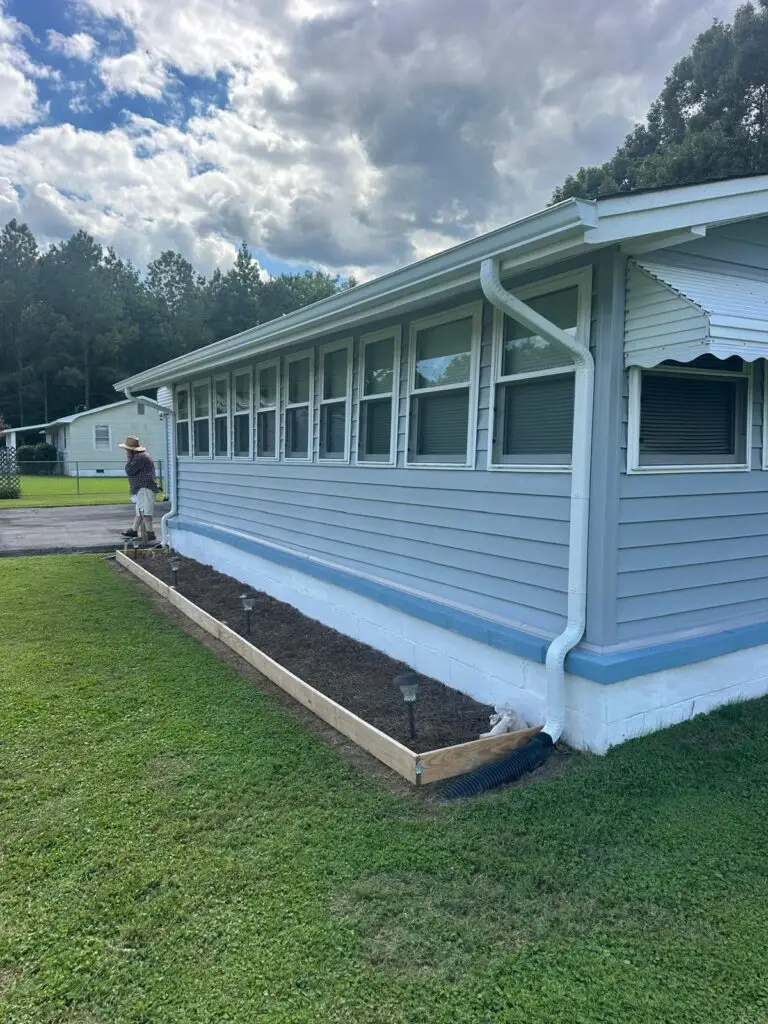
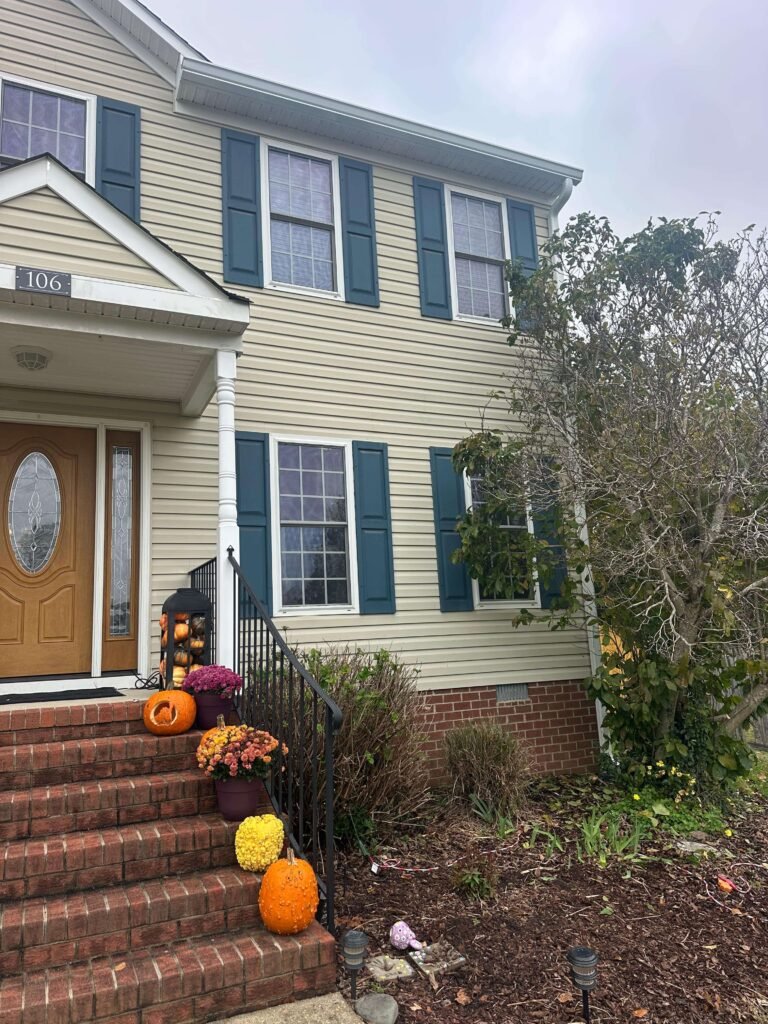
DIY sectional gutters may make sense if:
- Your home is single-story with a simple, straight roofline
- You’re comfortable and experienced working on a ladder
- You have someone to spot you and help hold sections during install
- You’re prepared to re-check pitch and reseal joints periodically
- You’re replacing a small section rather than the whole system
It's worth calling a professional if:
- Your home is two stories or has a steep or complex roofline
- You want true seamless gutters with minimal leak points
- You’ve had recurring leaks, sagging, or overflow issues before
- You’re unsure about calculating proper pitch or gutter sizing
- You’d rather have a warranty backing the installation
Go Deeper on This Topic
- 7 DIY Gutter Installation Mistakes That Cost Homeowners Thousands (Coming Soon)
- How to Choose the Right Gutter Type for Your Home (Coming Soon)
- Are Seamless Gutters Really Worth It?
- How Much Do Seamless Gutters Cost in Virginia?
- How to Choose the Right Gutter Contractor in Hampton Roads
What Gutter Masters Pro Brings to the Job
If you decide a professional install makes more sense for your home, here’s what that looks like with us:
We also offer gutter cleaning, repair (including fixing DIY installs that ran into trouble), and guard installation — all under one roof.
Weighing DIY vs. Professional Installation? Let's Talk It Through.
We’ll take an honest look at your roofline and tell you what we’d actually recommend — whether that’s a DIY-friendly project or a seamless install. No pressure, no upsell.
Serving Hampton, Virginia Beach, Norfolk, Chesapeake, Portsmouth & all of Hampton Roads, VA
Get a Free Gutter Inspection
Not sure if DIY or professional installation is right for your home? We’ll give you an honest read, free of charge.